Creating and Managing Agents
Agents enable Kindo users to automate workflows including security runbooks, SRE playbooks, DevOps procedures, and ITOps response workflows. This guide covers how to create and manage agents.
My Agents
After signing in, select the Agents tab to see your recently used agents and all agents available to you (both your own and shared).
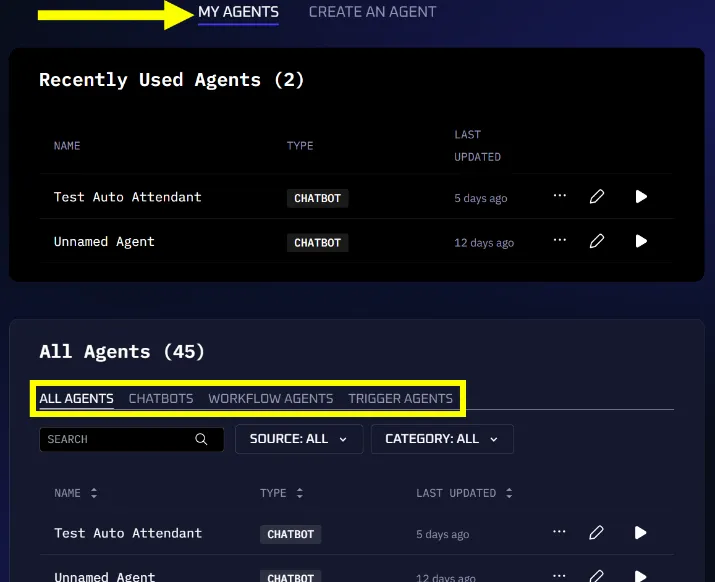
Filter agents by type using the tabs: All Agents, Chatbots, Workflow Agents, or Trigger Agents.
Each agent supports the following actions:
- Share — Make the agent available to other users in your organization
- Delete — Permanently remove the agent
- Edit — Open the agent for modification
- Run — Launch the agent
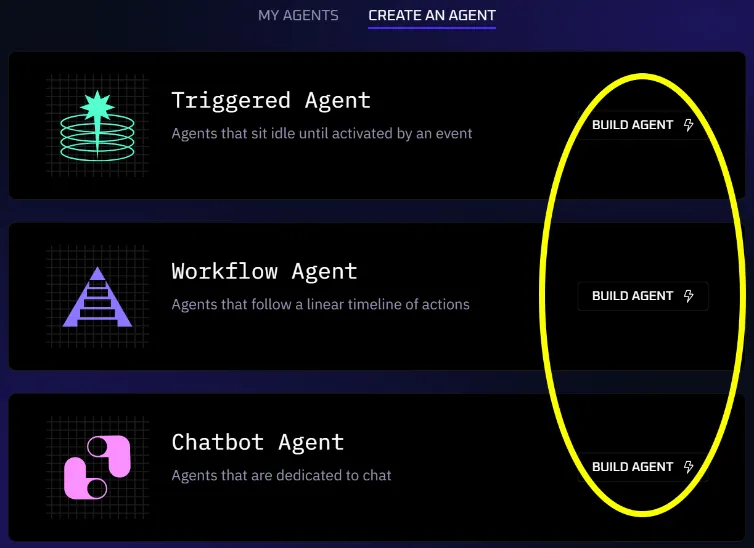
Creating an Agent
Select Create an Agent at the top of the Agents window, then choose the agent type: Triggered, Workflow, or Chatbot.
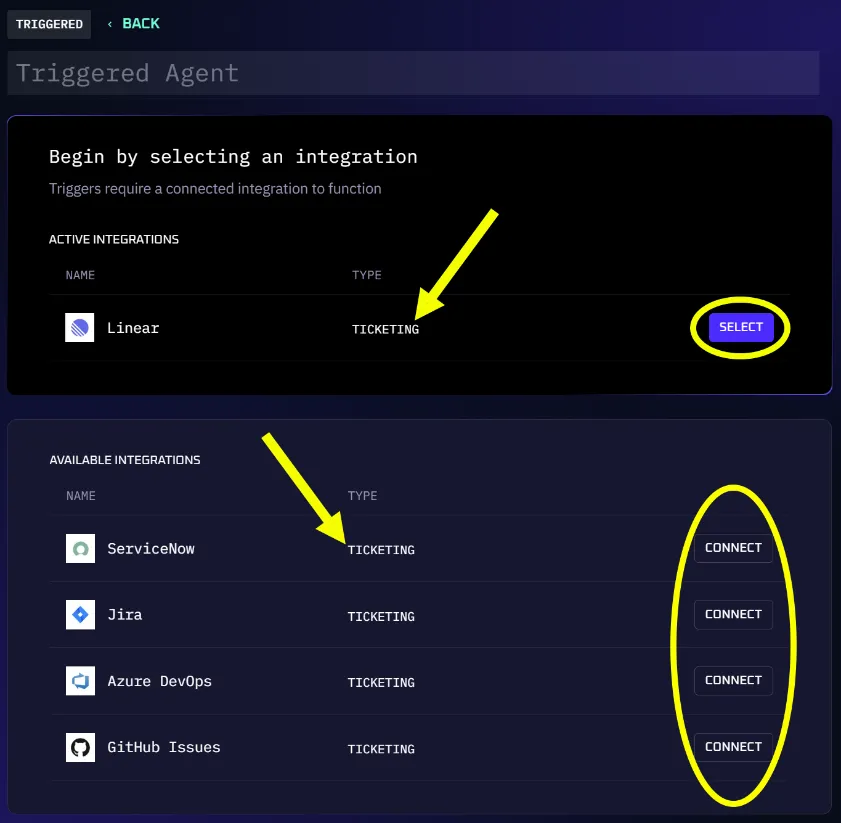
Creating a Triggered Agent requires an integration with another application, typically a ticketing system.
Configure the Integration
- Select the gear icon to open Settings.
- Navigate to the Integrations tab.
- Select an existing integration or click Connect (or New Connection if you already have connections) to add a new one.
Add Trigger Conditions
Use Add Condition to define the trigger event:
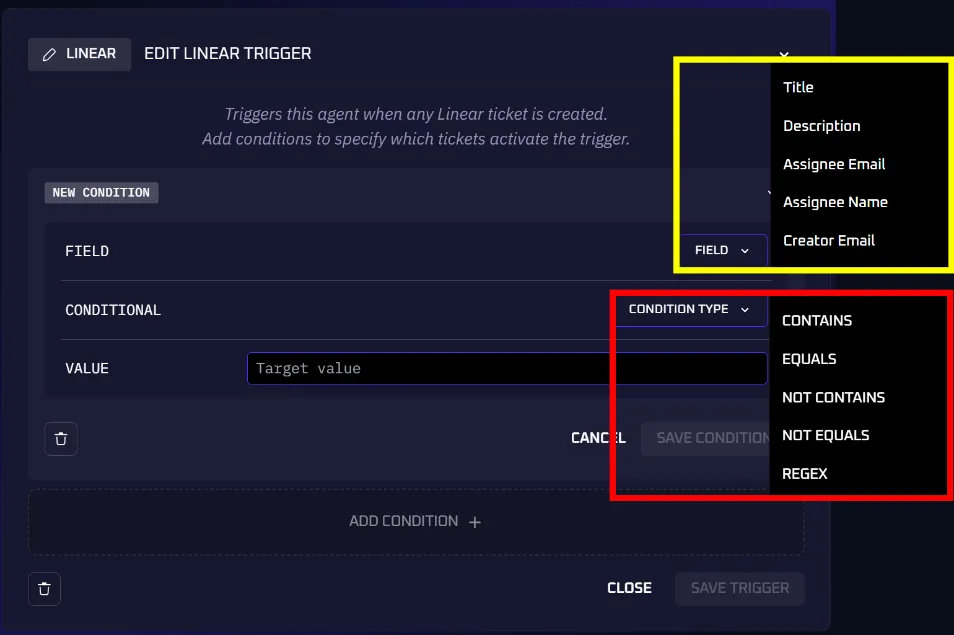
- Field — The field from the integrated application to monitor
- Condition Type — How to compare the field to the target value
- Target Value — The value to compare against (supports wildcards
*and?)
Example: Assignee Name EQUALS John
Click Save Condition, add more conditions if needed, then click Save Trigger.
Add Steps
Build the agent by adding steps one at a time using the + button:
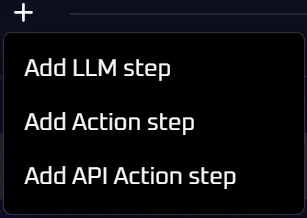
- LLM Step — Enter a natural language query for the model
- API Action Step — Perform an action through an API call (including integration-specific actions like adding Jira comments)
Click Generate when finished. The agent will begin monitoring for trigger events.
Build Manually
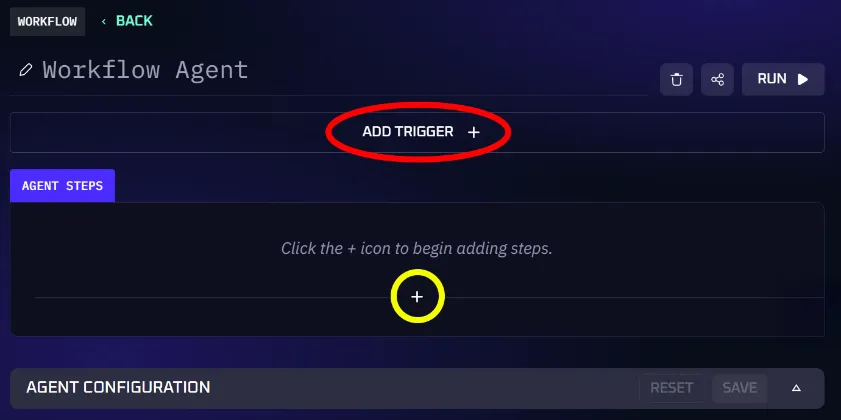
A Workflow Agent can optionally include a trigger. Select Add Trigger and choose an integration (must be pre-configured).
Add steps using the + icon under Agent Steps:
- LLM Step — A natural language query to an LLM
- API Action Step — A REST API call (manually entered or generated from a prompt using the Magic button)
Note: When working with integrated systems like Jira or ServiceNow, you may see pre-built actions in the UI (like “add comment” or “change priority”). These are convenience shortcuts that use the integration’s MCP tools behind the scenes — they are not a separate step type. Under the hood, they are API Action steps configured for that specific integration.
Click Generate when finished.
Build with Kindo AI
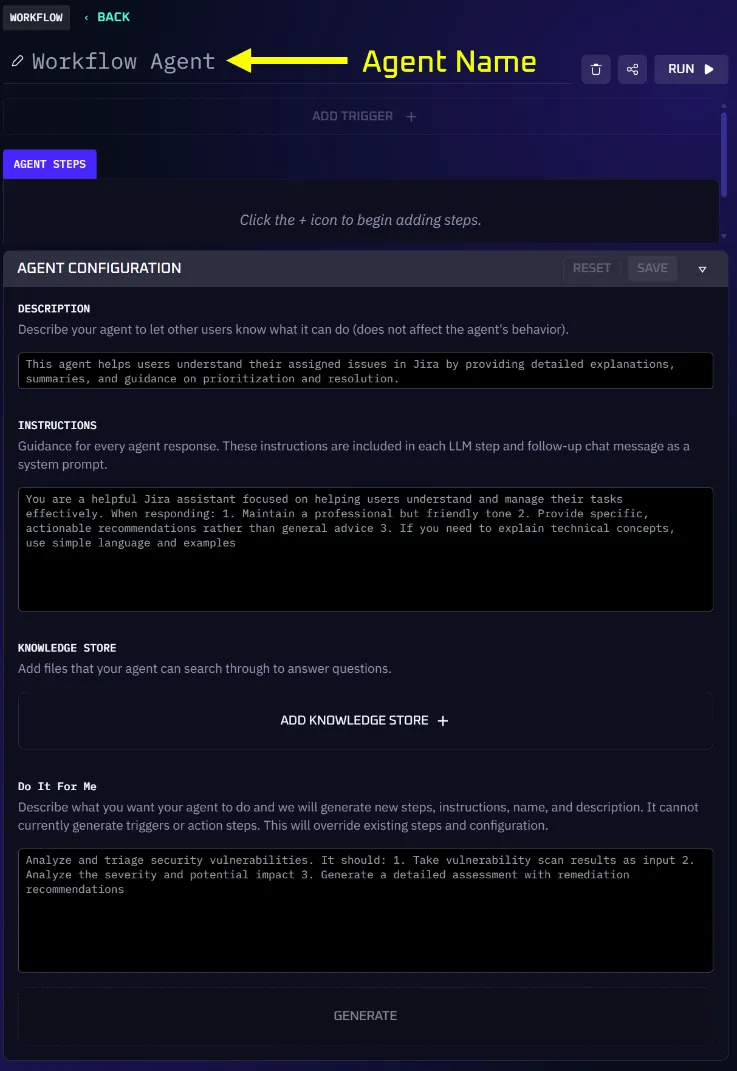
Expand the Agent Configuration panel to use natural language:
- Description — Explain the agent’s purpose (auto-generated if left blank)
- Instructions — Tell the AI model how to process the task, including response format, emphasis areas, and tone
- Knowledge Store — Attach files for the agent to reference
- Do It For Me — Describe what you want the agent to do in plain language, then click Generate
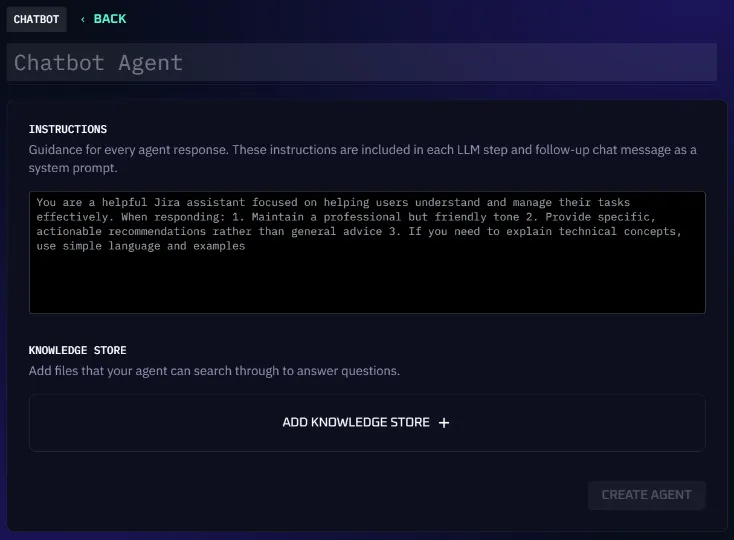
- Enter instructions to guide the agent’s responses.
- Attach relevant files from the Knowledge Store.
- Click Create Agent.
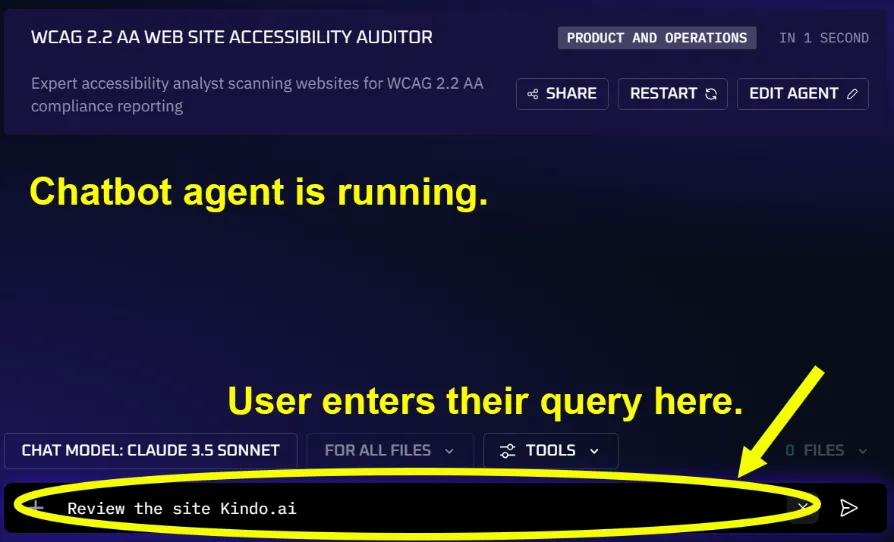
When run, the chatbot prompts the user for a query and responds using the attached files and instructions.
Enable additional search tools:
- Library Search — Search files in the Knowledge Store
- URL Search — Search a specific web URL
- Web Search — Search the internet
Agent Configuration Panel
Both Triggered and Workflow agents support the Agent Configuration panel for natural language construction:
- Name — Give the agent a name (auto-generated if blank)
- Description — Summarize the agent’s purpose (auto-generated if blank)
- Instructions — Provide context about the agent’s role, response format, and behavior
- Knowledge Store — Attach files, URLs, or websites as reference material
- Do It For Me — Describe the desired behavior in plain language and click Generate
Managing Steps
- To delete a step, open it and click the trash icon.
- To reorder steps, drag them into the desired sequence.
- Each step can be assigned a different AI model.
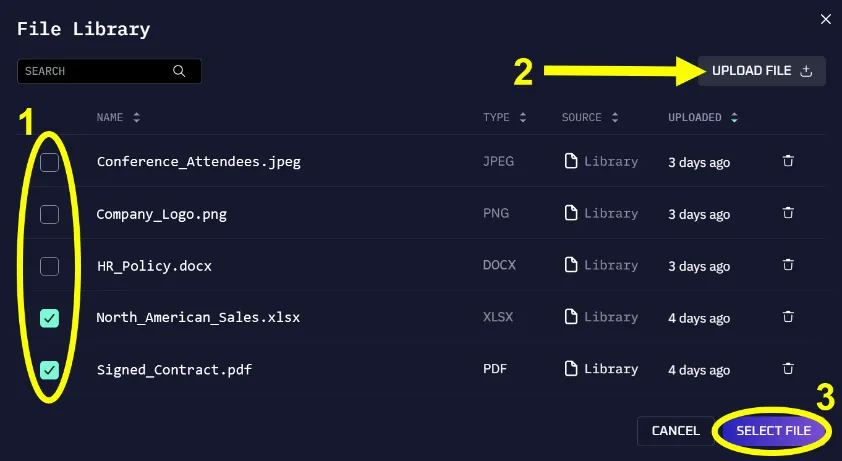
File Library
Add files to Kindo’s library from two locations:
- From Chat — Click the + button in the query bar
- When Creating an Agent — Click Add Knowledge Store
Both methods open the File Library where you can select existing files or upload new ones.
Agent Types Reference
Kindo supports five agent types, each designed for different automation patterns:
| Type | Trigger | Best For |
|---|---|---|
| Chatbot | User message | Knowledge base Q&A, helpdesk, conversational interfaces |
| Manual Workflow | Manual run | Runbook execution, one-off reports, on-demand analysis |
| Scheduled | Cron schedule | Recurring reports, periodic compliance checks, daily summaries |
| Triggered | External event | Incident response, alert triage, ticket automation |
| Dashboard | Implicit | Data visualization, monitoring displays |
Choosing an Agent Type
Start with a Chatbot when you need conversational interaction or knowledge base access.
Use a Manual Workflow when you need to perform a sequence of operations on demand, especially when those operations involve API calls or data processing.
Add a Schedule when the same workflow needs to run repeatedly (daily security reports, weekly compliance scans).
Add a Trigger when the workflow should respond to external events (new tickets, security alerts, system events).
Best Practices
As you move from simple agents to production workflows, consult these guides:
- Prompt and Agent Configuration Management — Version control, testing, and governance for production agents
- Working with Large Context — Techniques for handling large documents, logs, and tool outputs
- Memory and Persistence Patterns — Give agents persistent memory across runs using external systems
- Multi-Agent Coordination — Orchestrate multiple agents to work together on complex workflows