
SAML with Google Workspace
This guide walks through configuring Google Workspace as the identity provider for a Kindo SAML connection. It assumes you have a SAML connection set up in SSOReady — typically through the self-serve setup link described in Single Sign-On (SSO) Setup — and shows where each value in Google comes from and where it goes.
Create a custom SAML app in Google
Section titled “Create a custom SAML app in Google”A Google Workspace administrator creates the app from the admin console.
-
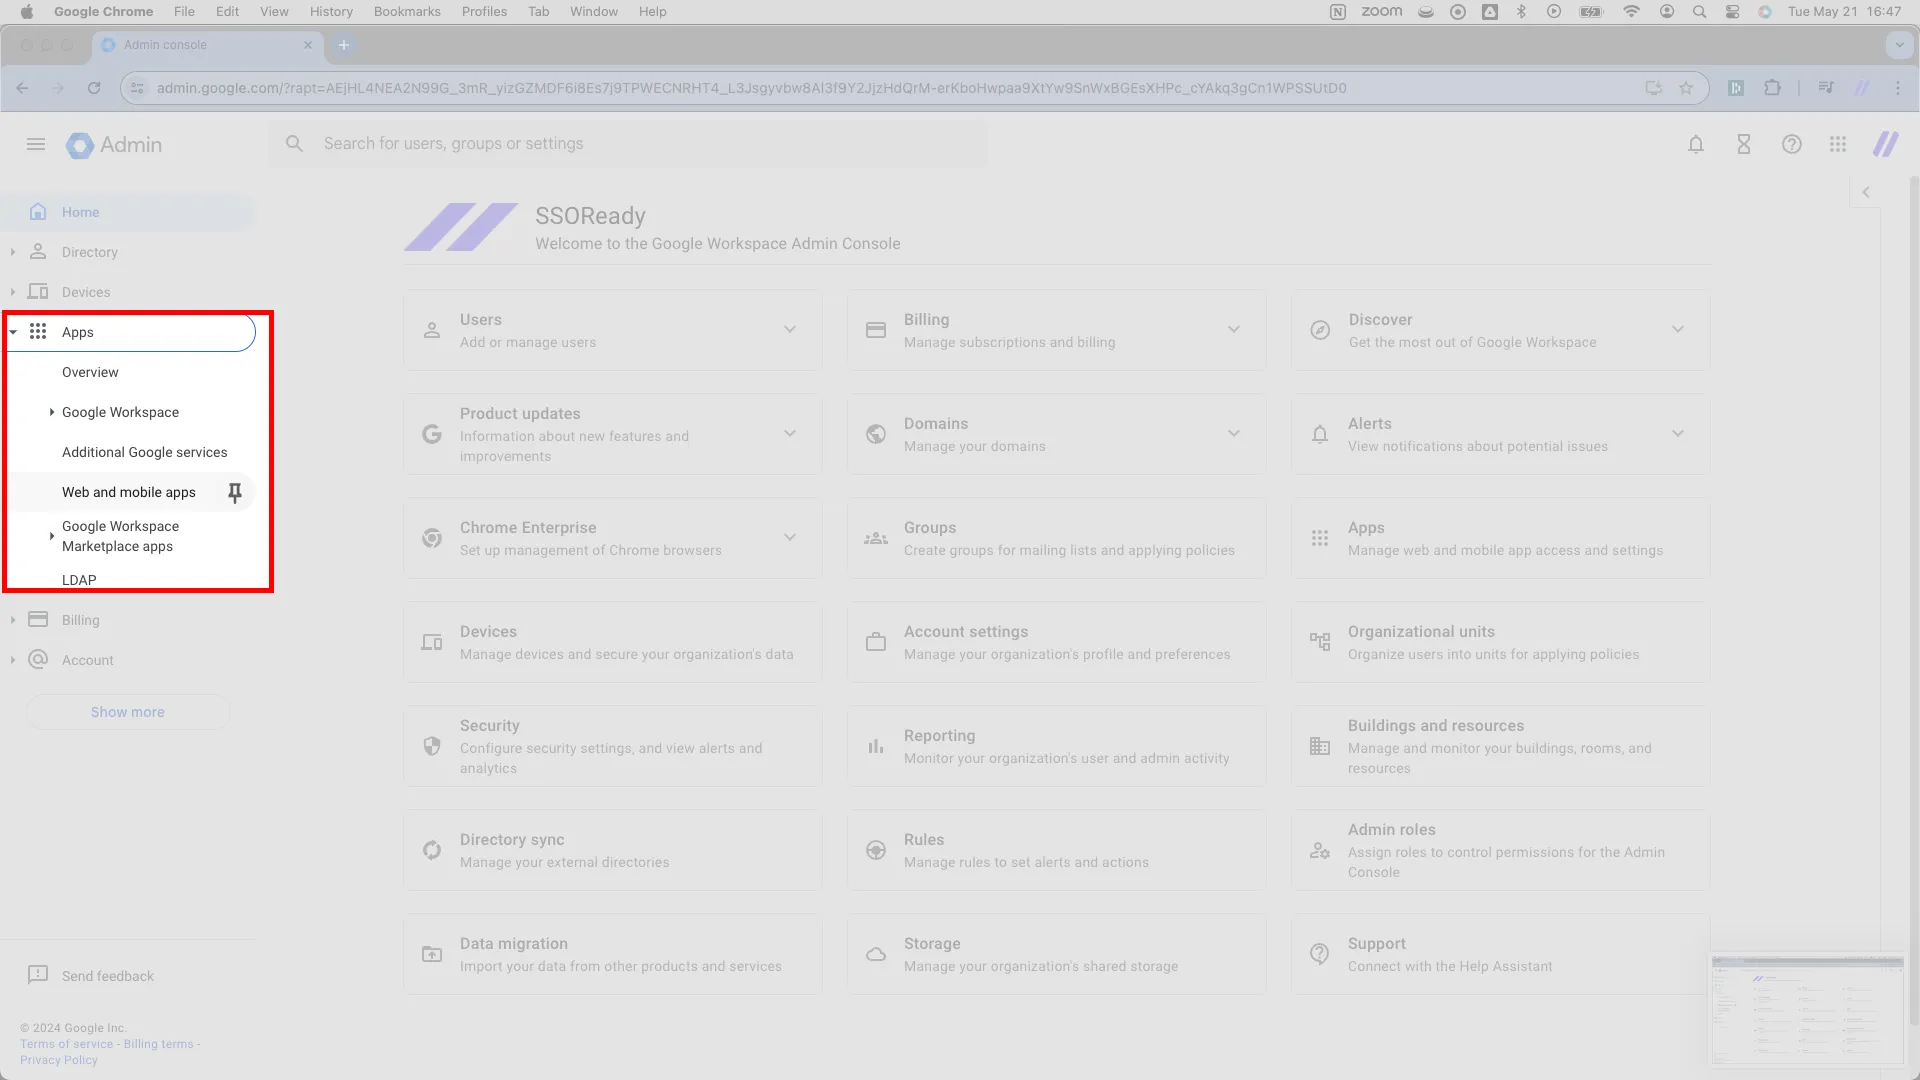
Starting from the Google Workspace admin console at admin.google.com, navigate to Apps > Web and mobile apps in the left navigation bar.
-
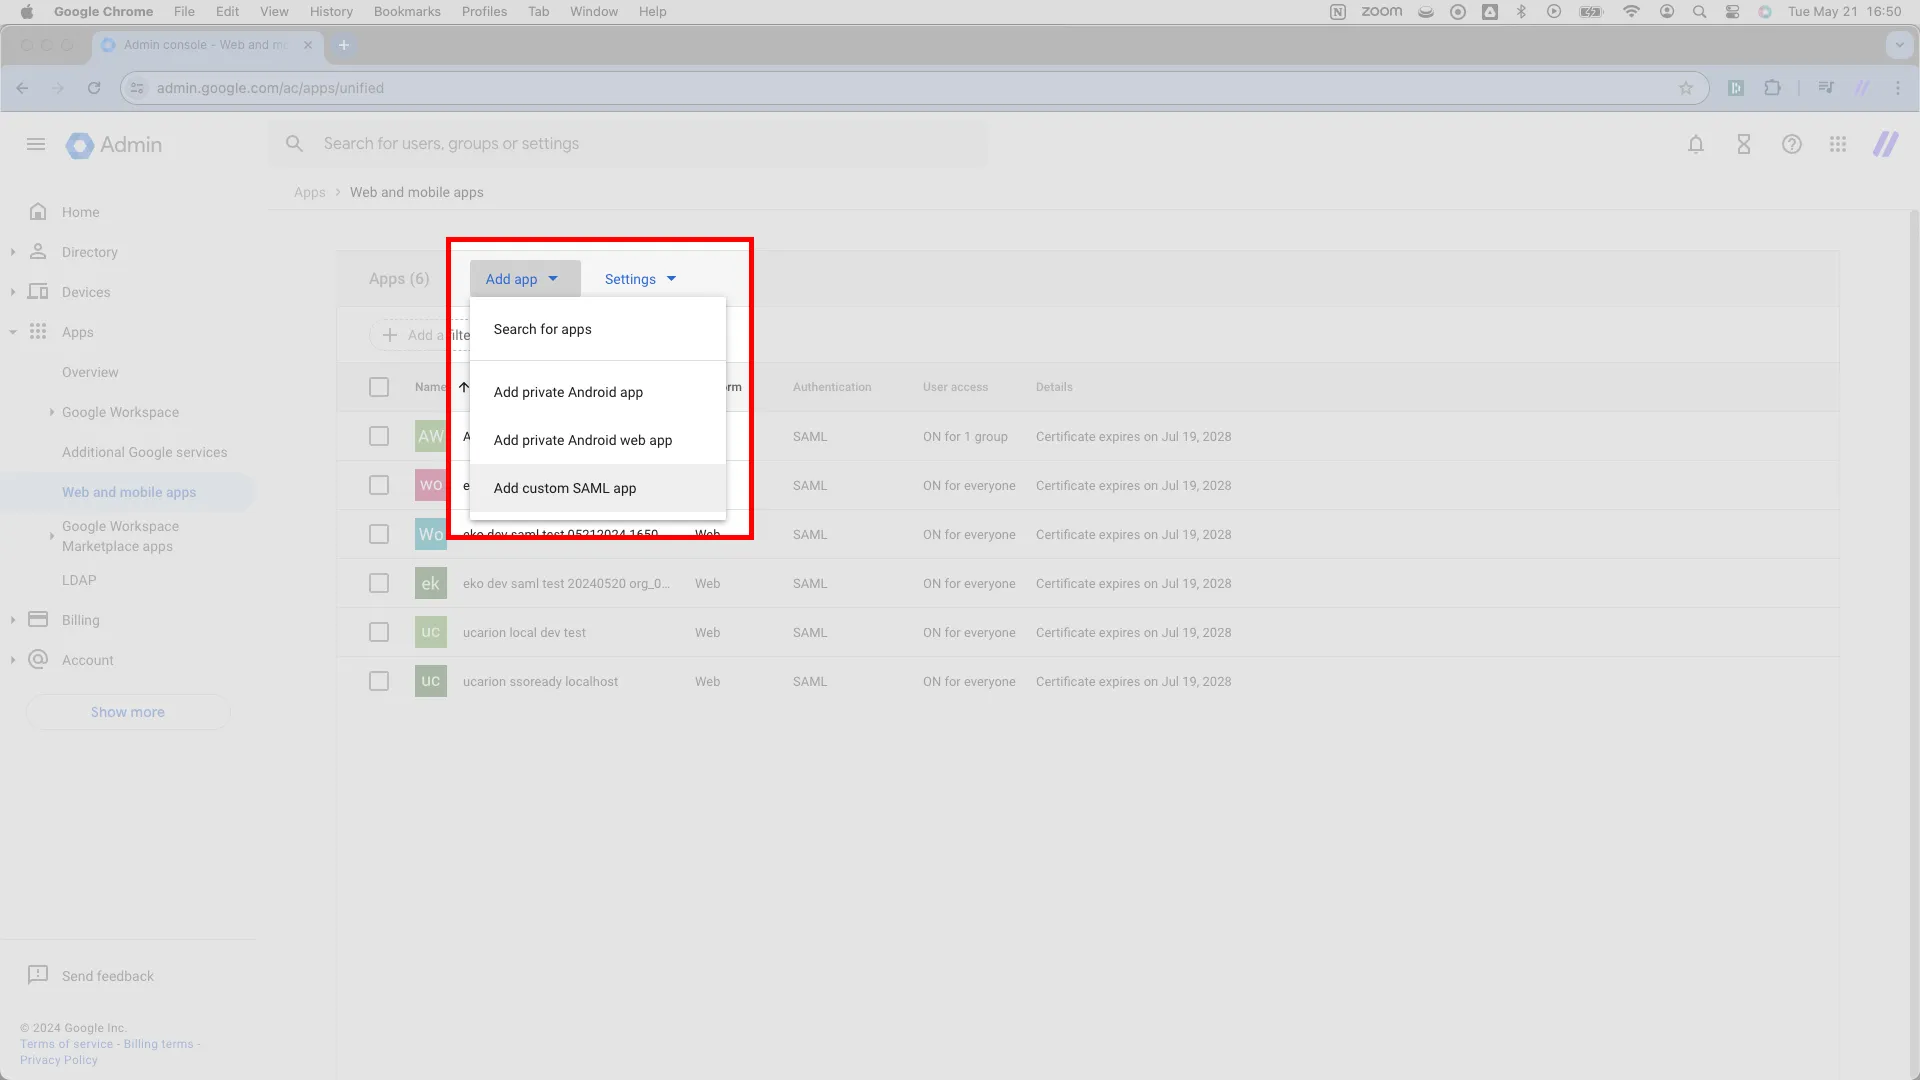
On the Apps > Web and mobile apps page, click Add app > Add custom SAML app in the tabs right under the header.
-
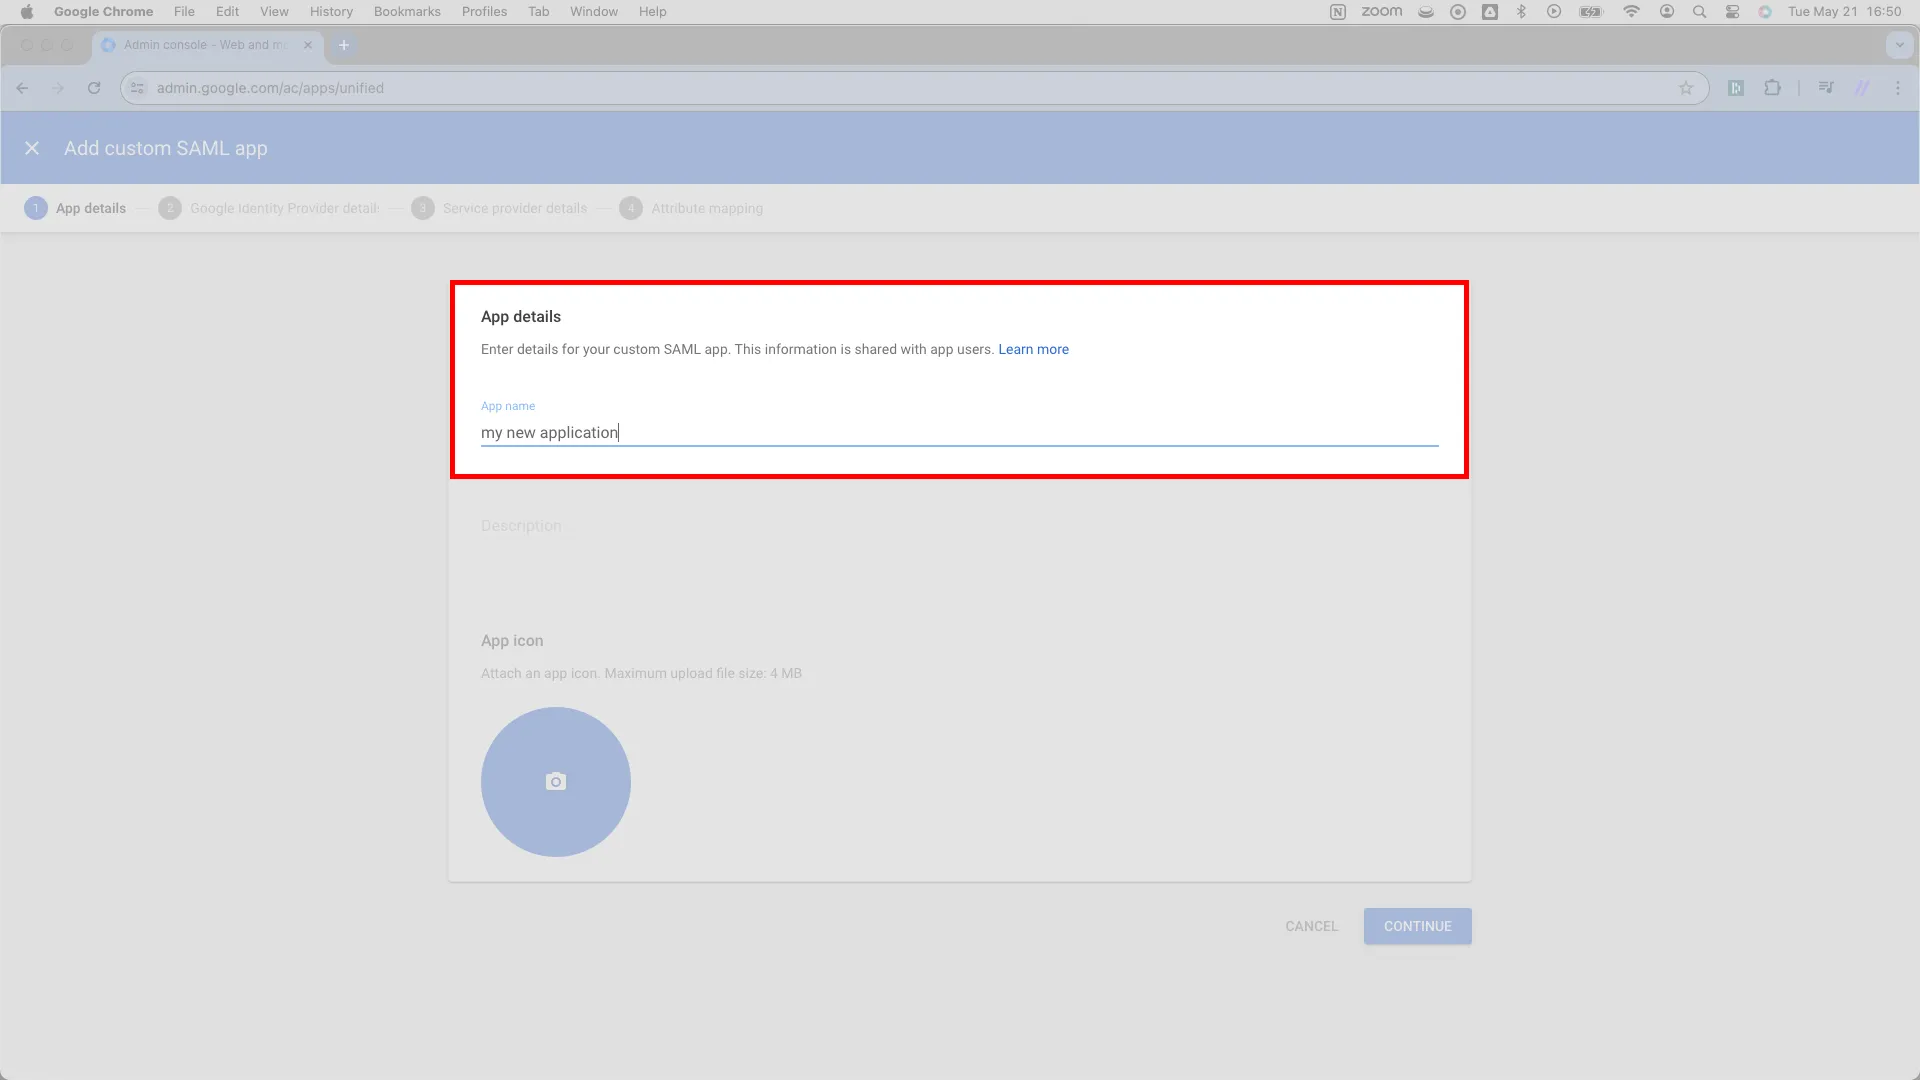
On the Add custom SAML app page, assign the application an App name. The name matters solely for display purposes — Kindo, or your own name for the Kindo deployment, works well. Then hit the blue CONTINUE button in the lower right.
Enter Google details in SSOReady
Section titled “Enter Google details in SSOReady”The next page shows the details about the new app that SSOReady needs. Copy each of these from Google into SSOReady.
-
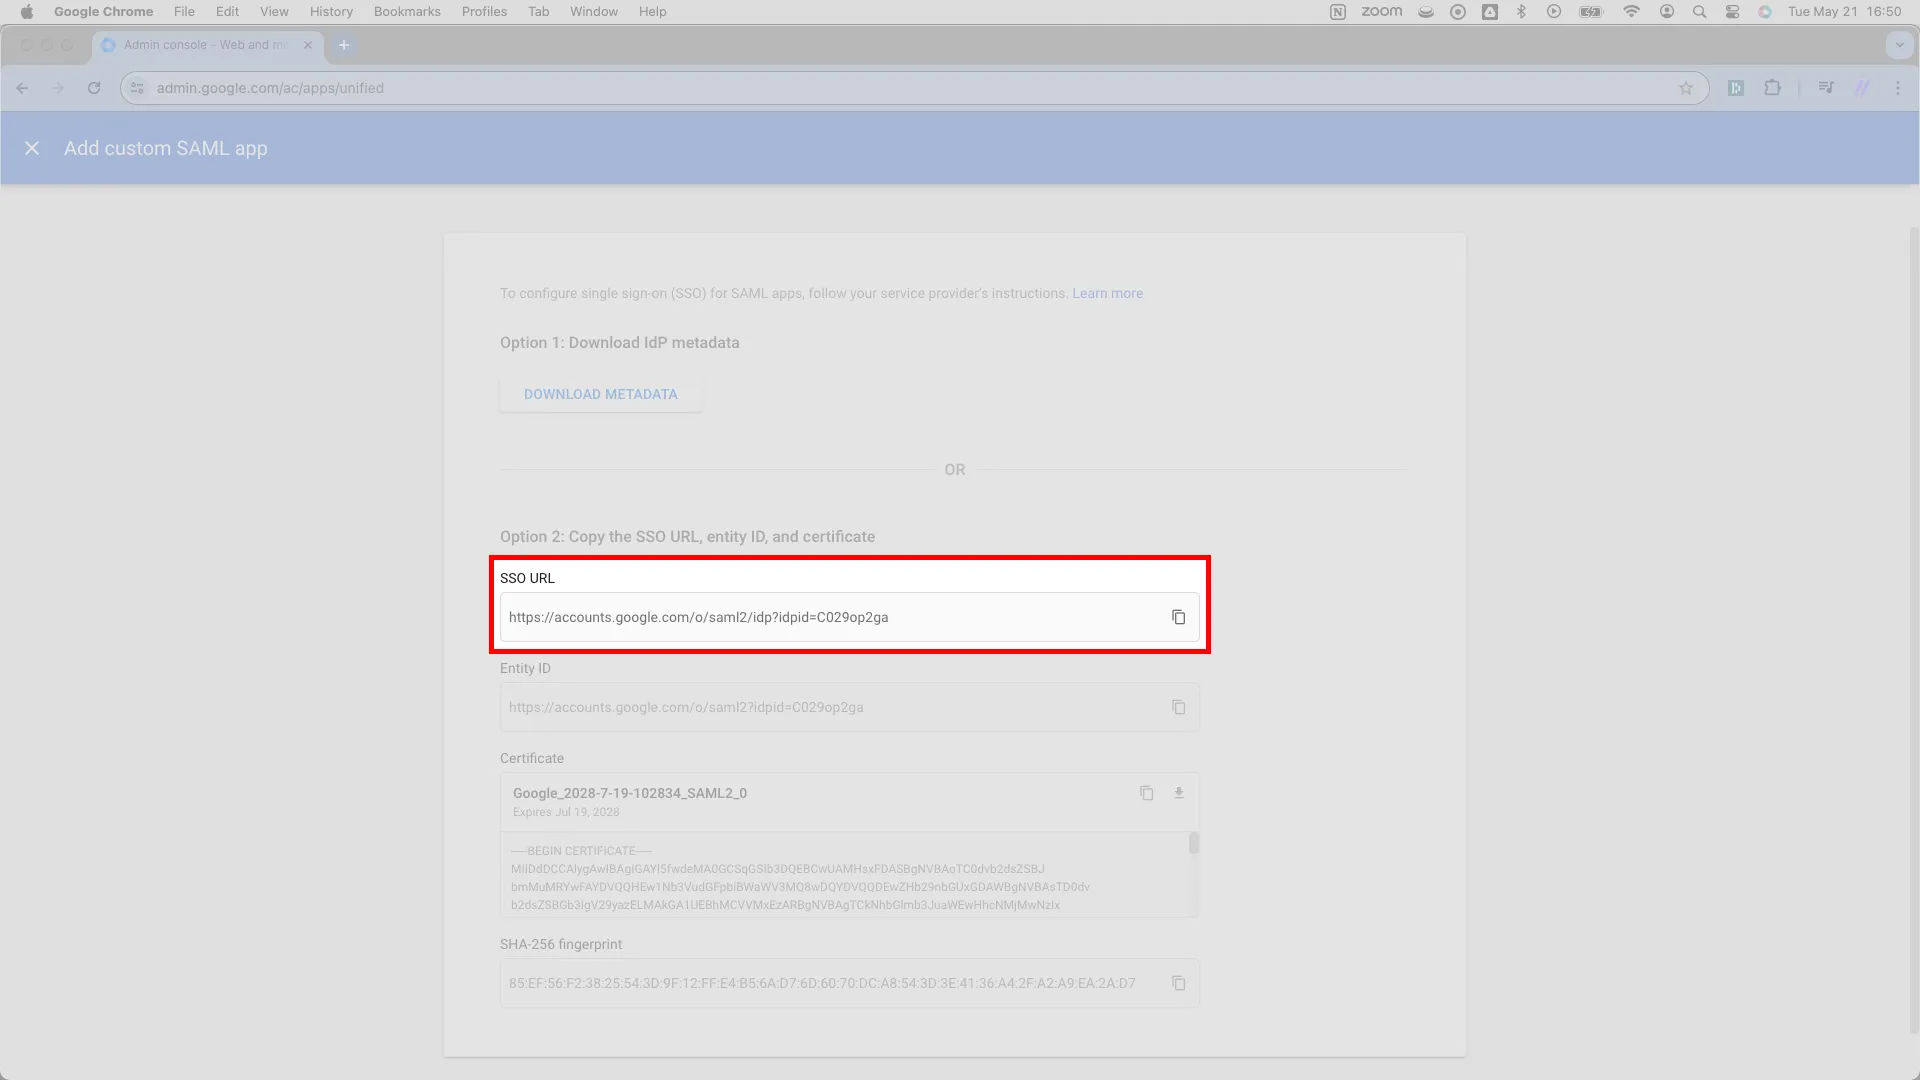
Scroll down to the field marked SSO URL. SSOReady calls this the Redirect URL, on the Identity Provider Configuration card for your SAML connection. Copy the URL from Google and paste it into SSOReady.
-
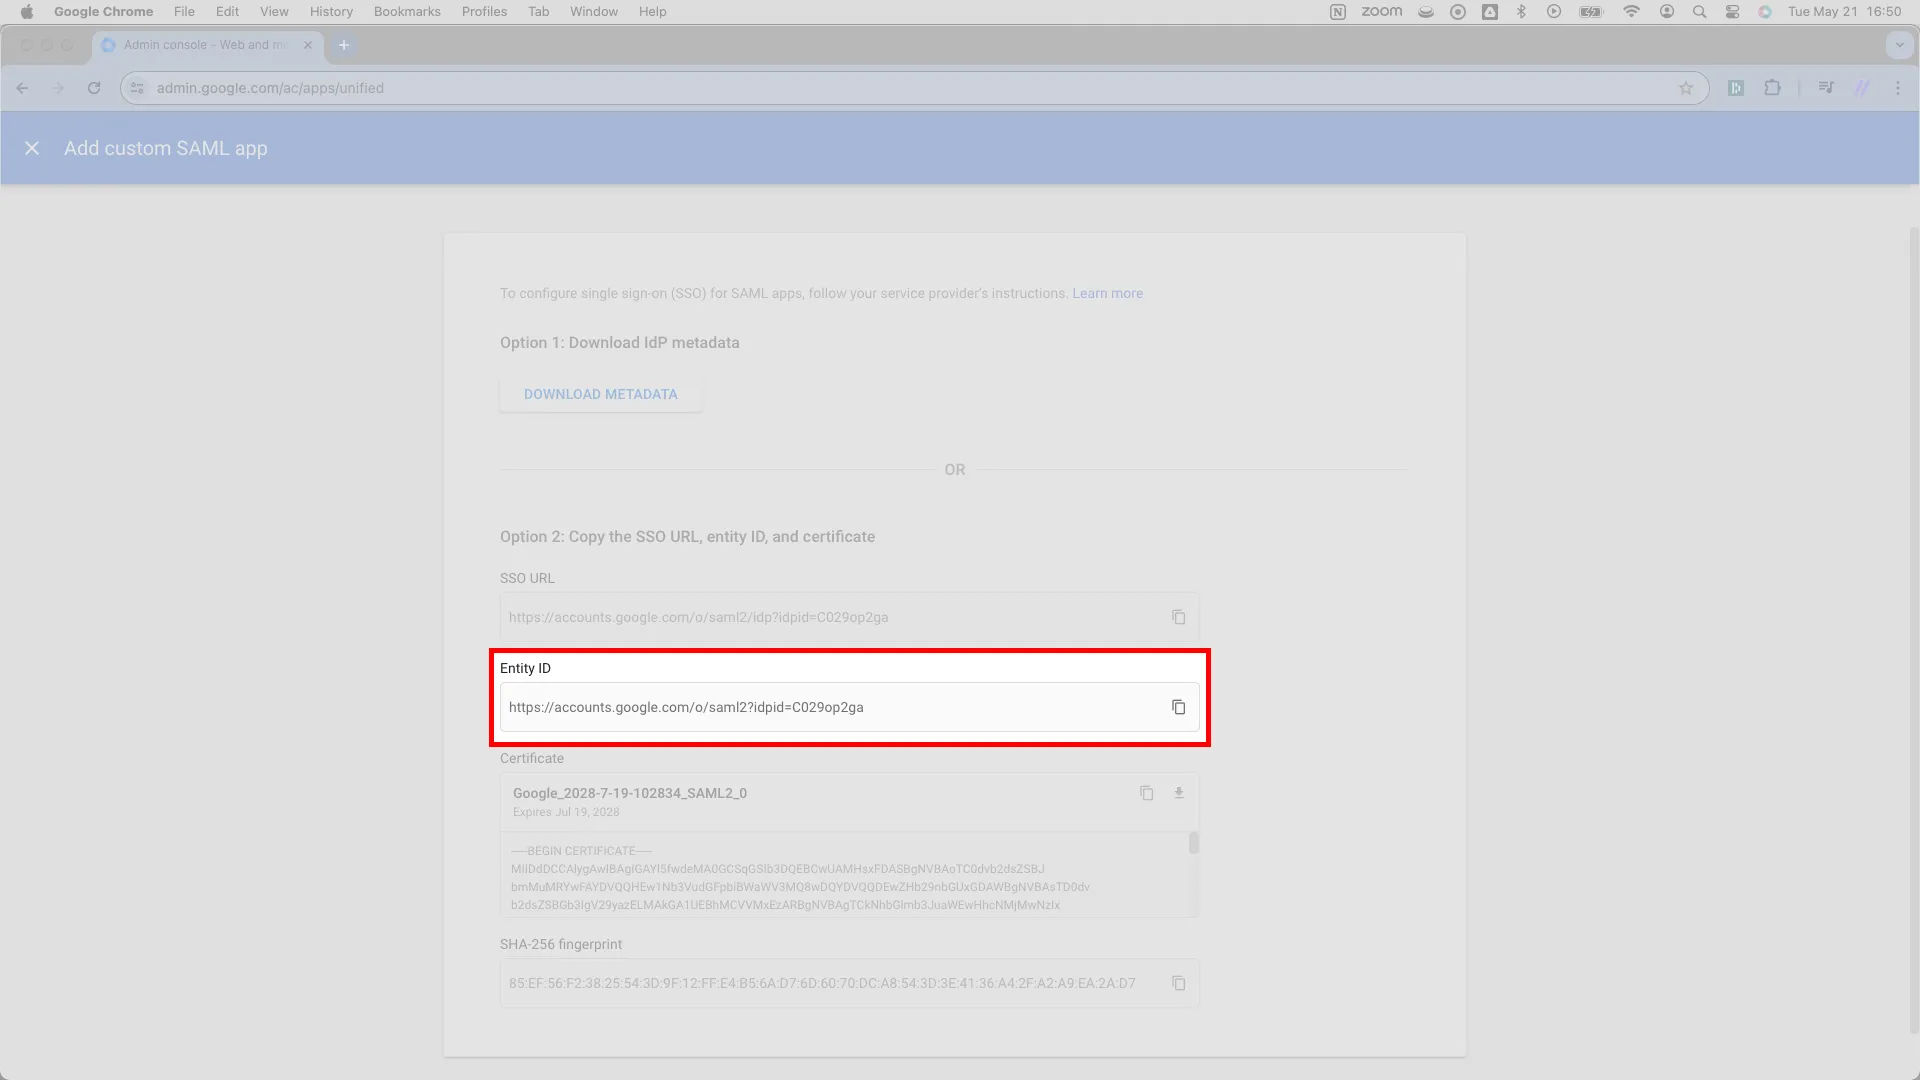
Directly under the SSO URL sits Google’s Entity ID field. Copy it and paste it into SSOReady as the IDP Entity ID, adjacent to the Redirect URL input from the previous step.
-
Navigate to the next field, marked Certificate. Toward its top right corner is a download icon; pressing it downloads a
.pemfile whose name starts withGoogleand ends inSAML2_0. Upload this file to SSOReady as the Certificate.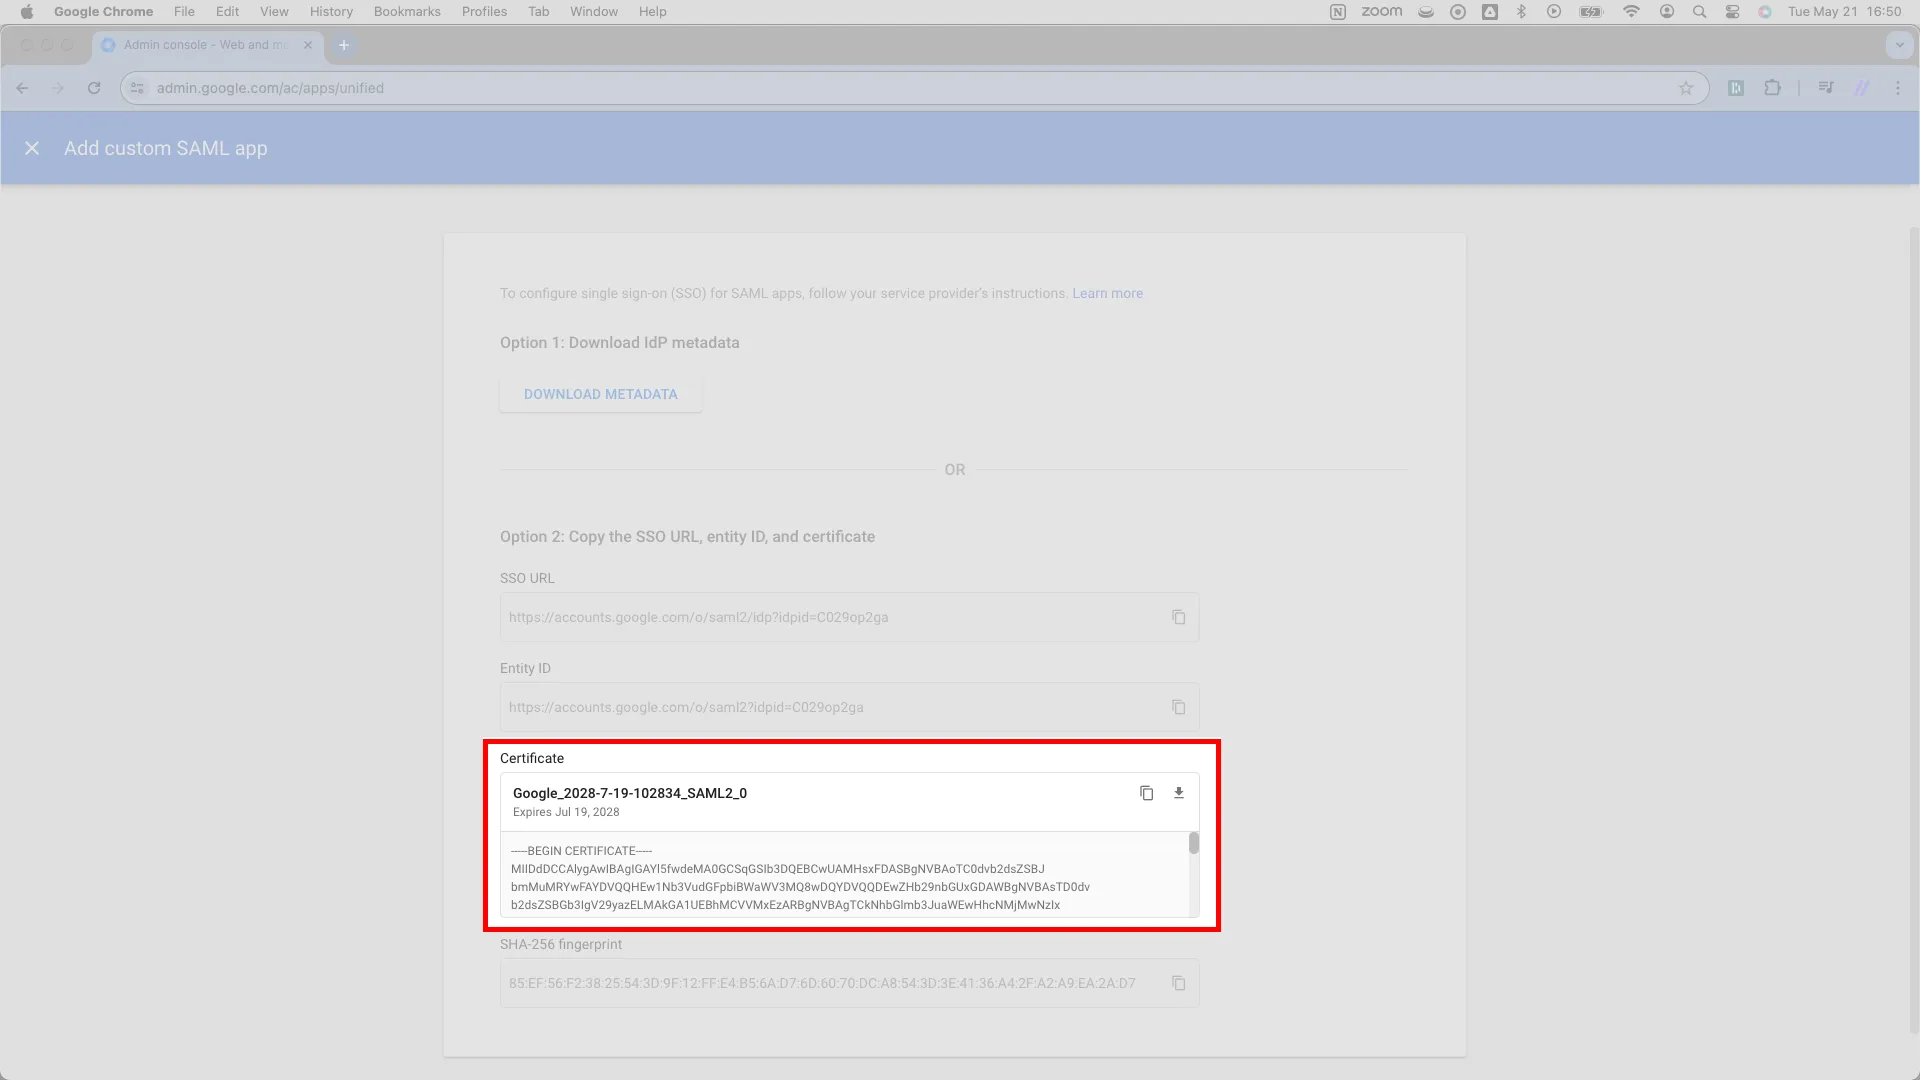
-
SSOReady now has everything it needs. Scroll down and press the blue CONTINUE button in the bottom right of the page.
Enter SSOReady details in Google
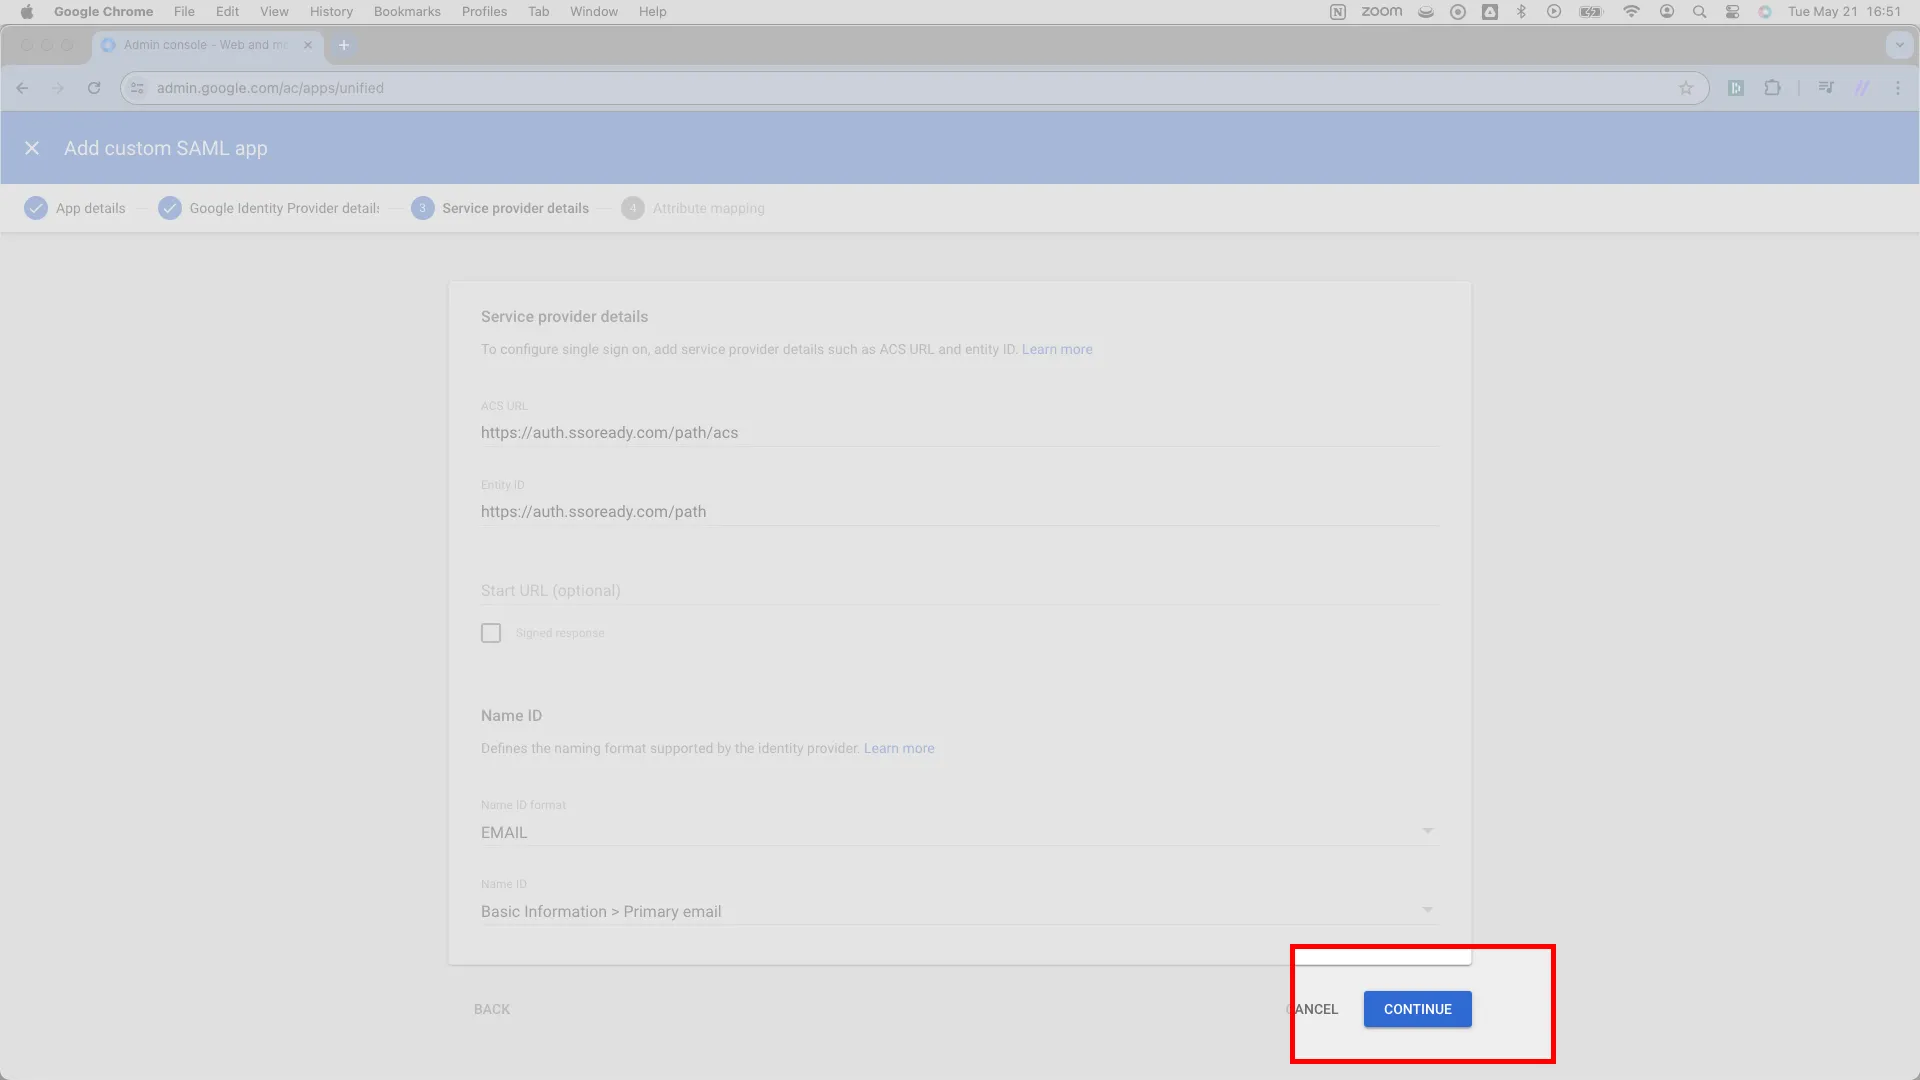
Section titled “Enter SSOReady details in Google”Now tell Google about SSOReady. Both required values come from the Service Provider Configuration card for your SAML connection in SSOReady.
-
Google asks for an ACS URL. SSOReady calls this the Assertion Consumer Service (ACS) URL; it ends in
/acs. Copy it from SSOReady and paste it into Google’s ACS URL field.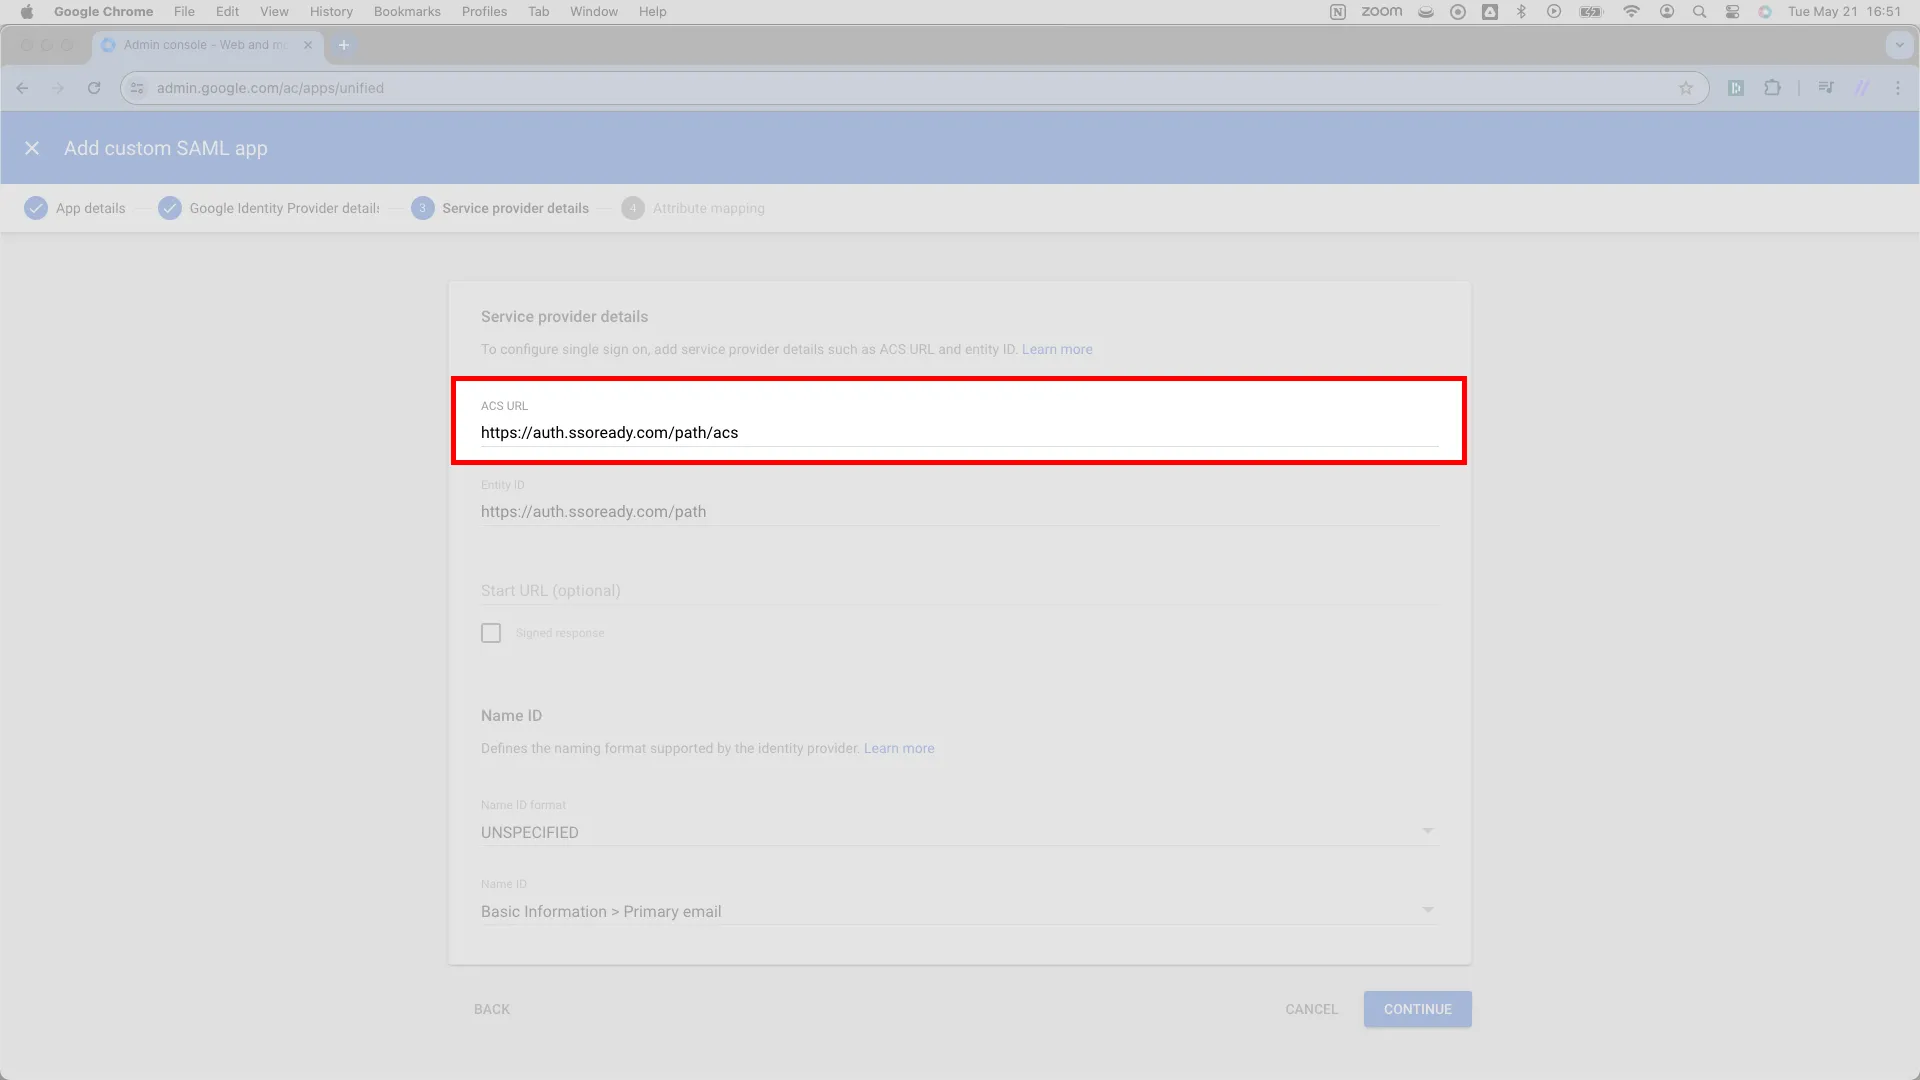
-
Directly below, Google asks for an Entity ID. SSOReady calls this the SP Entity ID; it looks exactly like the ACS URL, only without the
/acsending. Copy it from SSOReady and paste it into Google’s Entity ID field.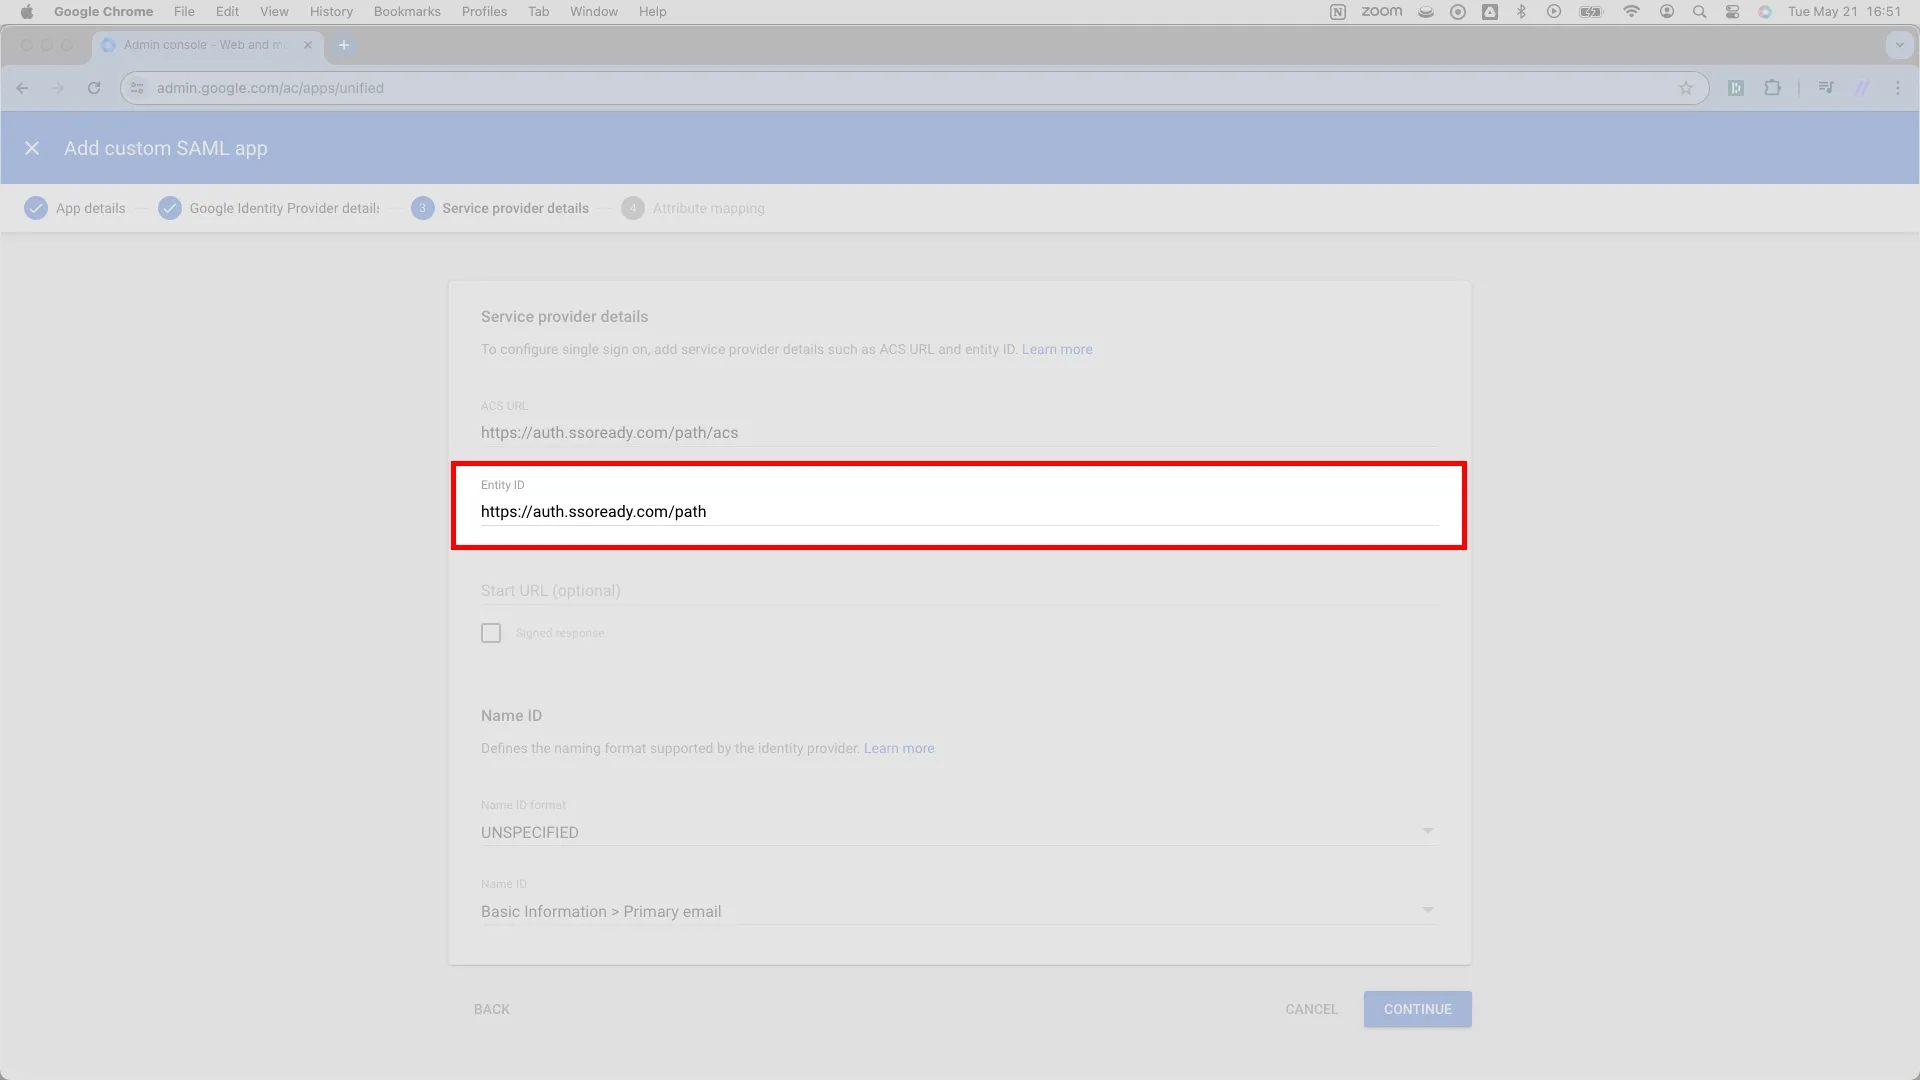
-
Click the blue CONTINUE button in the lower right corner.
-
On the Attribute mapping page that follows, map these Google directory attributes to app attributes with these exact names, so the SAML assertion carries what Kindo expects. SSOReady does not rewrite incorrect incoming SAML attributes on your behalf; without a correctly mapped
emailattribute, login and JIT (Just-In-Time) provisioning fail. Then hit FINISH.Google directory attribute App attribute Primary email emailFirst name firstNameLast name lastName
Once you’ve completed this step, the Google configuration is done. Confirm the connection appears in SSOReady’s connection list as described in Single Sign-On (SSO) Setup.